

Crochet is one of the most calming, tactile, and endlessly rewarding fiber arts in the world. With nothing more than a single hook and a skein of yarn, you hold the power to create heirloom blankets (like our easy chunky crochet blanket), modern market bags, and tactile textured home accents. Yet for complete beginners, looking at a finished crochet piece can feel intimidating—as if it requires a secret mathematical code to decipher. In this comprehensive beginner foundation guide, we break down every fundamental technique step by step, so you can build muscle memory, master consistent tension, and start hooking with total confidence from day one.
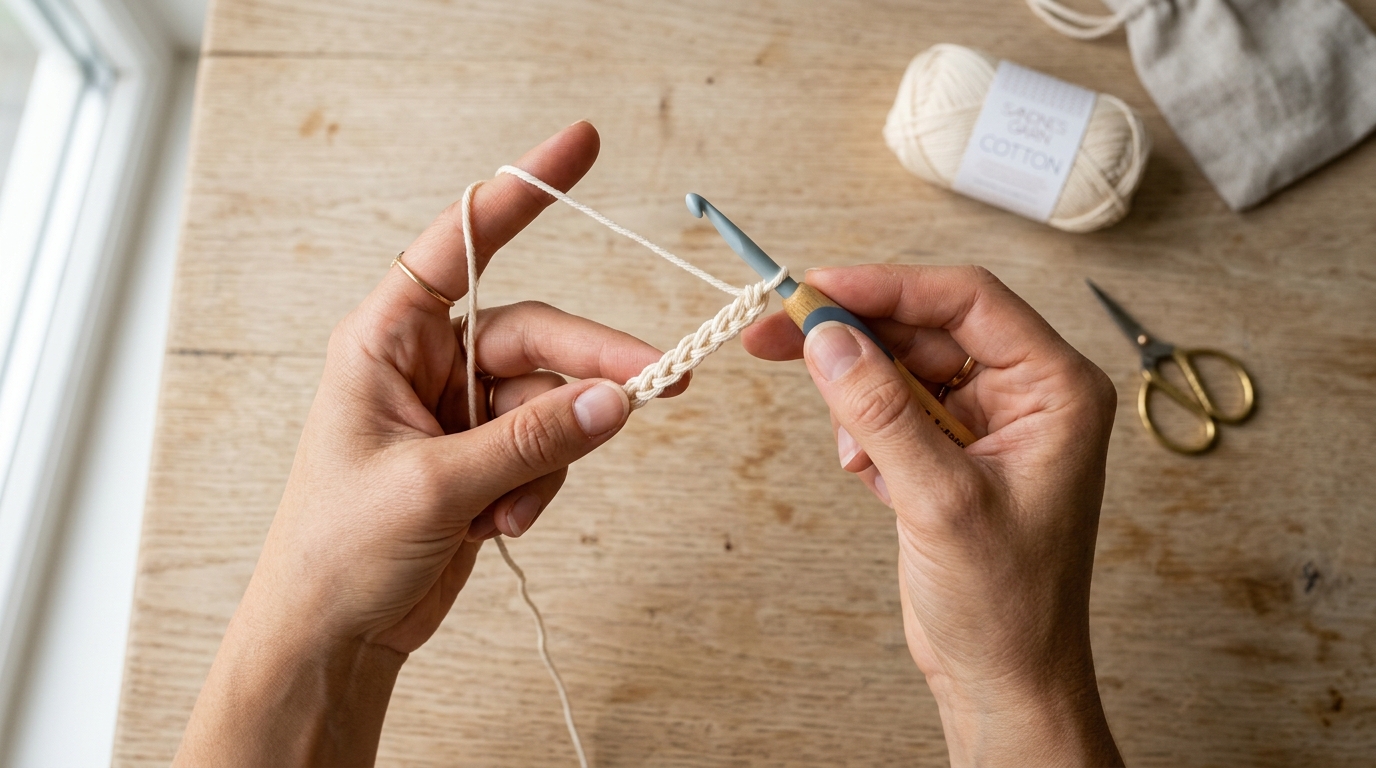
Unlike knitting, which requires balancing live stitches across two needles, crochet works only one active loop at a time. This makes crochet remarkably forgiving, highly portable, and fast to pick up. Once you understand how your hook catches yarn and how your non-dominant hand guides tension, the physical rhythm becomes second nature.
Why You’ll Love Learning to Crochet
- Mindful Relaxation: The rhythmic motion of wrapping yarn and pulling through loops acts as a natural meditative stress reliever after a busy day.
- Only One Active Loop: If you make a mistake, simply pull gently on the yarn to unravel back to the spot—no dropped stitches running down your work!
- Rapid Project Satisfaction: Beginner crochet stitches work up quickly, allowing you to complete textured cotton dishcloths and scarves in a single weekend (explore our best easy crochet projects for beginners).
- Endless Versatility: With just four basic stitches (explored in depth in our master crochet stitch directory), you can create lace, textured waffle ridges, chunky cable blankets, and sculptural home decor.
Essential Beginner Crochet Toolkit

Before you make your first loop, setting yourself up with the right materials prevents early frustration. We strongly recommend starting with light-colored, smooth medium-weight yarn:
- Ergonomic Crochet Hook (Size H-8 / 5.0 mm): A 5.0mm hook provides the sweet spot for beginner visibility. Look for an ergonomic silicone or wooden handle to reduce hand fatigue.
- Worsted Weight Yarn (CYC #4): Choose a smooth 100% cotton or acrylic yarn (see our crochet yarn weight guide) in a light neutral shade (cream, sage, or soft blush). Avoid dark, fluffy, or textured bouclé yarns, as they hide stitch definition.
- Locking Stitch Markers: Invaluable for marking the first and last stitch of each row to prevent unintentional dropped stitches and slanted edges.
- Blunt Tapestry Needle & Embroidery Scissors: Essential for cleanly weaving in yarn ends without splitting your fibers.
Step-by-Step Foundation: From Slip Knot to Single Crochet
Follow this exact sequence to master the foundational mechanics of crochet:
Step 1: The Slip Knot
Cross the yarn tail over the working yarn to form a loop. Reach through the loop with your thumb and index finger, grab the working yarn, and pull it through. Insert your hook into the loop and pull the working strand gently until the loop rests comfortably around the neck of the hook. It should slide freely without pinching.
Step 2: Holding the Hook & Establishing Yarn Tension
You can hold your crochet hook in one of two natural ways: the Pencil Grip (holding the hook between thumb and index finger like a writing pen) or the Knife Grip (holding the hook overhand like a dinner knife). Neither is superior—choose whichever feels most natural in your hand. In your other hand, drape the working yarn over your index finger and weave it lightly through your lower fingers to create gentle resistance.
Step 3: The Foundation Chain (CH)
Wrap the yarn over your hook from back to front (Yarn Over / YO). Rotate the hook slightly downward so the throat catches the yarn, then draw the hook back through the active loop on your hook. Congratulations—you have formed your first chain stitch! Repeat this process until you have 15 chain stitches. Keep your chain loose; tight chains make working the first row difficult.

Step 4: Working the Single Crochet (SC)
Skip the first chain closest to the hook. Insert your hook into the center of the second chain from the hook. Yarn over and pull the yarn through the chain stitch (you now have 2 loops on your hook). Yarn over again and pull through both loops on your hook. You have just completed a single crochet! Continue working one single crochet into each remaining chain across the row.
Step 5: The Turning Chain & Row 2
At the end of the row, work 1 chain stitch (this is your turning chain, which brings the yarn up to the height of the next row). Turn your fabric like turning the page of a book. Insert your hook under the “V” shape (both top loops) of the very first stitch, and work your single crochets across.
3 Essential Rules for Perfectly Straight Edges
1. Always Count Your Stitches: The number one reason beginner rectangles turn into triangles is accidentally skipping the first or last stitch of a row. If you chained 15 and worked 14 single crochets in Row 1, count 14 stitches at the end of every subsequent row.
2. Pin the Edge Stitches with Markers: Place a locking stitch marker in the very first stitch you make in a row. When you return on the next row, that marked stitch tells you exactly where your final hook insertion must go.
3. Keep the Hook Shaft Level: Gauge is determined by the diameter of the hook’s shaft, not its tip. Always slide each new loop all the way onto the straight barrel of the hook before pulling through to maintain uniform loop size.

Beginner Crochet Stitch Cheat Sheet
| Stitch Name | US Abbr. | UK Term | Turning Chain | Fabric Density |
|---|---|---|---|---|
| Slip Stitch | sl st | Slip stitch (ss) | None | Ultra-flat, joining seams |
| Single Crochet | sc | Double crochet (dc) | CH 1 | Dense, sturdy, warm |
| Half Double Crochet | hdc | Half treble (htr) | CH 2 | Soft, flexible, ribbed back |
| Double Crochet | dc | Treble crochet (tr) | CH 3 | Airy, fast, fluid drape |
| Treble Crochet | tr | Double treble (dtr) | CH 4 | Open, lace-like, lightweight |
Frequently Asked Questions
Why is my crochet work curling into a circle?
Curling usually happens when your foundation chain is crocheted too tightly compared to your subsequent rows. Try making your foundation chain with a hook one size larger (e.g., 5.5mm), then switch back to your 5.0mm hook for Row 1.
Is crochet easier to learn than knitting?
Most craft experts agree crochet is faster to learn because you only manage one active loop at a time. If you drop your hook, your project won’t unravel like loose knitting stitches can.
What is the best first project for a beginner?
A cotton textured dishcloth or a simple ribbed neck warmer. Both are straight rectangular makes that reinforce tension control without requiring shaping or complex increases.
Pin This Beginner Foundation Guide
Save this complete visual guide to your crochet or craft Pinterest board so you have the step-by-step photos and stitch chart handy whenever you pick up your hook!

