

Few garment projects capture the imagination of the fiber arts community quite like the crochet hexagon cardigan (our viral oversized staple alongside our tailored crochet sweater vest pattern). By transforming two simple six-sided granny hexagons through clever geometrical folding, you create an entire modern sweater—complete with body panels, shoulders, and sleeves—with almost zero tedious seaming. In this comprehensive pattern guide, we walk you through every step of crafting an oversized hexagon cardigan, including calibrated multi-size grading, the essential secret to back widening, and clean ribbed cuffs for a relaxed, boutique silhouette.
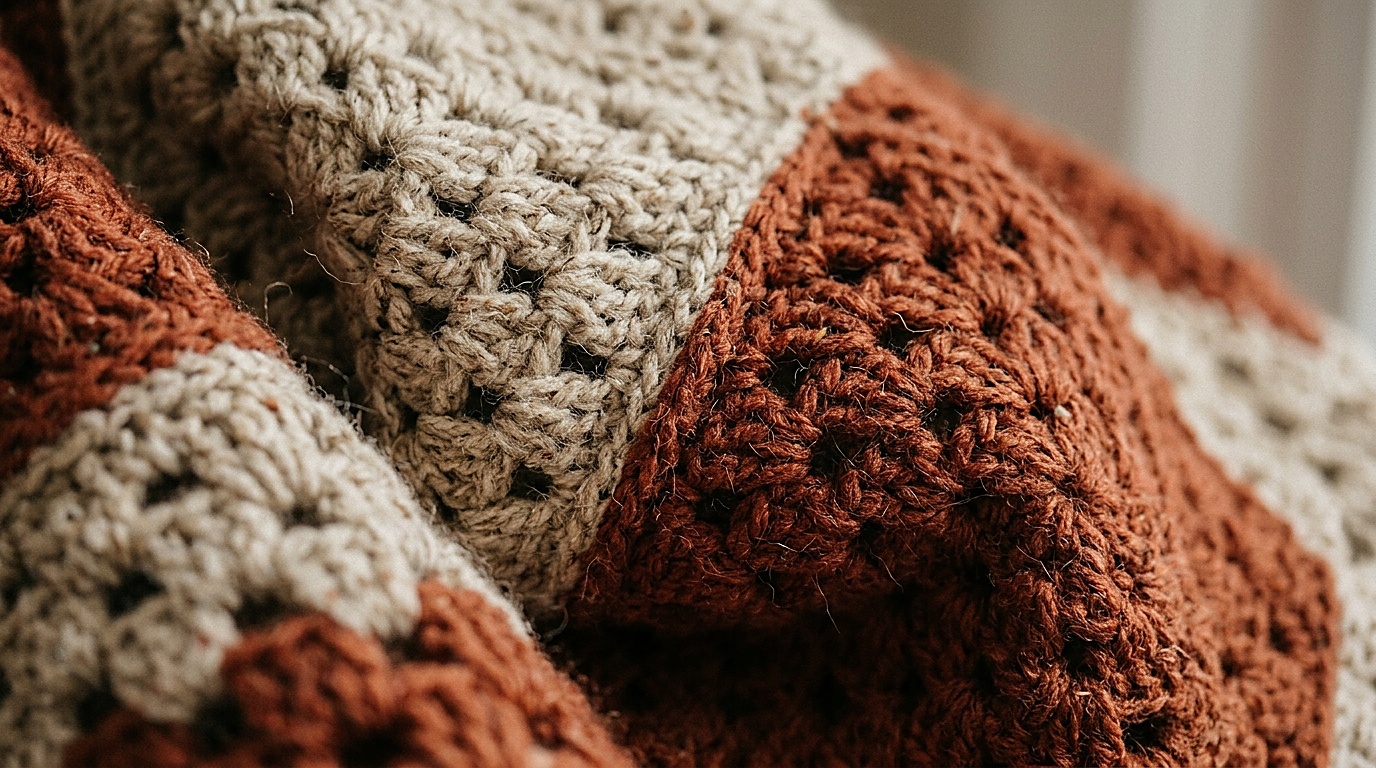
Traditional sweater patterns require knitting or crocheting four separate panels—front, back, and two set-in sleeves—which must then be carefully blocked and matched along armholes and shoulders. The hexagon cardigan revolutionizes garment making. When a six-sided granny motif is folded in half along opposite corners, the right angles instantly snap into an “L” shape that wraps around the torso and extends out along the arm. However, making a cardigan that fits properly across various body shapes requires understanding how to balance sleeve width with back breadth.
Cardigan Sizing Matrix & Finished Measurements
This pattern is designed with generous positive ease (6 to 8 inches) for a cozy, oversized fit. Choose your size based on your actual bust measurement (refer to our crochet yarn weight guide for fiber substitution and yardage rules):
| Size Category | To Fit Bust | Finished Cardigan Bust | Hexagon Rounds | Estimated Yardage (DK / Category #3) |
|---|---|---|---|---|
| XS / Small | 30″ – 34″ (76 – 86 cm) | 42″ (107 cm) | 15 rounds | approx. 1,150 yds (1,050 m) |
| Medium / Large (Featured) | 36″ – 42″ (91 – 107 cm) | 48″ (122 cm) | 17 rounds | approx. 1,400 yds (1,280 m) |
| XL / 2X | 44″ – 50″ (112 – 127 cm) | 54″ (137 cm) | 19 rounds | approx. 1,700 yds (1,550 m) |
| 3X / 4X | 52″ – 58″ (132 – 147 cm) | 60″ (152 cm) | 21 rounds | approx. 2,050 yds (1,870 m) |
The Hexagon Fitting Problem & How to Solve It
The most common issue makers encounter with basic hexagon cardigan patterns is the armhole-to-chest imbalance. In a symmetrical hexagon, every round increases both the chest depth and the sleeve circumference simultaneously. If you continue adding rounds to fit a larger bust, the sleeves become absurdly wide and drag past your fingertips, while the back may remain tight between your shoulder blades.
The Pro Solution: Back & Hem Extension Rows. Once your hexagon reaches the correct underarm depth for your sleeve opening (approximately 15 to 19 rounds depending on size), you stop working in the round. Instead, you work 2 to 4 flat rows along only one or two sides of each hexagon before seaming. This widens the back panel and lengthens the torso without making the sleeves uncontrollably bulky.

Tools, Yarn Selection & Gauge Swatch
- Yarn: Category #3 (DK Weight) or soft Category #4 (Light Worsted) yarn (consult our crochet yarn weight and hook size guide for gauge charts). Acrylic-wool blends or bamboo-cotton work exceptionally well to prevent heavy sagging.
- Hook: 5.5mm (US I-9) or size needed to obtain gauge. (Using a slightly larger hook than recommended on the yarn label creates fluid wearable drape).
- Notions: Tapestry needle, 6 locking stitch markers, scissors.
- Gauge: 4 granny clusters (12 dc stitches) and 7 cluster rounds = 4″ (10 cm) in pattern.
Step-by-Step Construction Walkthrough
Abbreviations (US Terms): ch = chain; dc = double crochet; sp = space; cluster = 3 double crochets worked into the same space; sl st = slip stitch; st(s) = stitch(es).
Phase 1: Crocheting Hexagon Panels (Make 2 Identical)
Round 1 (The Six-Corner Center): Make a magic ring (or ch 4 and sl st to form a ring). Ch 3 (counts as 1 dc throughout), work 2 dc into the ring, ch 2. *Work 3 dc into the ring, ch 2.* Repeat from * 4 more times. Join with a sl st to the 3rd chain of the starting ch-3. [6 clusters, 6 ch-2 corner spaces]
Round 2 (Establishing Corners): Sl st across the tops of the next 2 dc to enter the first corner ch-2 sp. Ch 3, work (2 dc, ch 2, 3 dc) into the same corner space. In each of the remaining 5 corner spaces, work (3 dc, ch 2, 3 dc). Join with a sl st to top of starting ch-3. [12 clusters, 6 corner spaces]

Rounds 3 through 17 (Medium/Large Featured): Sl st into the corner sp. Ch 3, work (2 dc, ch 2, 3 dc) into the corner. Work 3 dc in each space between clusters along the side. Work (3 dc, ch 2, 3 dc) in each corner space. Join with a sl st. Continue repeating this sequence until your panel reaches 17 rounds (or the target round count for your chosen size). Fasten off Hexagon 1; do not fasten off Hexagon 2.
Phase 2: Adding Back Extension Rows
Fold Hexagon 1 in half along opposite corners so it forms an “L” shape. Identify the side that will become the center-back seam. Reattach yarn to that edge and work 3 flat rows of granny clusters along the back side only. Repeat for Hexagon 2. This adds 6 total rows of ease across the spine, creating a relaxed, non-constricting fit across your upper back.
Phase 3: Seaming & Assembly
Lay both folded “L” panels flat on a clean surface with the right sides facing outward and the back extension edges touching down the middle. Use a tapestry needle and the mattress stitch to seam the two panels along the center-back from the bottom hem to the nape of the neck. Next, seam the top edges of the sleeves from the shoulder down toward the wrist, leaving the cuff open.
Phase 4: Adding Sleeve Length & Ribbed Cuffs
Reattach yarn at the wrist opening. Work continuous rounds of granny clusters (3 dc in each space) without increasing until the sleeve reaches your wrist bone. To create clean ribbed cuffs: work 1 round of standard double crochet around the opening, reducing stitch count by approximately 25% (dc2tog periodically). Then work 4 rounds of alternating Front Post DC and Back Post DC (FPDC/BPDC) ribbing. Fasten off.

Finishing with a Classic Shawl Collar & Hem Band
To give the front opening a tailored, store-bought finish, reattach yarn at the bottom front corner. Work continuous rows of granny clusters or alternating post-stitch ribbing around the entire front opening: up the right front edge, around the back neck, and down the left front edge. Adding 4 to 6 rows creates an elegant shawl collar that drapes naturally without curling.
Steam Blocking & Garment Longevity
Because granny clusters can bunch slightly along seamed edges, gentle steam blocking is essential for relaxing the stitches and producing fluid drape:
- Steam, Never Touch: Lay the finished cardigan flat on blocking mats. Hold a steam iron or garment steamer approximately 1 to 2 inches away from the fabric, allowing the steam to penetrate the fibers without touching the iron directly to synthetic or wool blends.
- Gently Shape: Smooth the side seams and ribbed cuffs with your hands while warm, then let the garment dry and cool completely before wearing.
- Hanging Warning: Never hang a crochet cardigan on a wire hanger, as the weight of the yarn will cause the shoulders to stretch into unsightly points. Always store folded flat on a shelf.
Save This Hexagon Cardigan Pattern on Pinterest
Pin this modern hexagon sweater pattern to your Pinterest crochet clothing board so you have the sizing chart and back-widening technique ready for your next garment project!

