

The modern crochet sweater vest—often called a knitted slipover—has solidified its place as the undisputed staple of transitional handmade fashion. Whether layered over an oversized white button-down, styled atop a lightweight turtleneck, or worn solo during early autumn afternoons, a chunky V-neck vest brings effortless architectural drape without the fatigue of crocheting long sleeves. If making your first wearable garment has felt intimidating (even more accessible than our viral easy crochet hexagon cardigan pattern), this free pattern strips away complex armhole curves in favor of a clean, beginner-friendly two-panel construction, structured V-neck shaping math, and tailored ribbed trims.
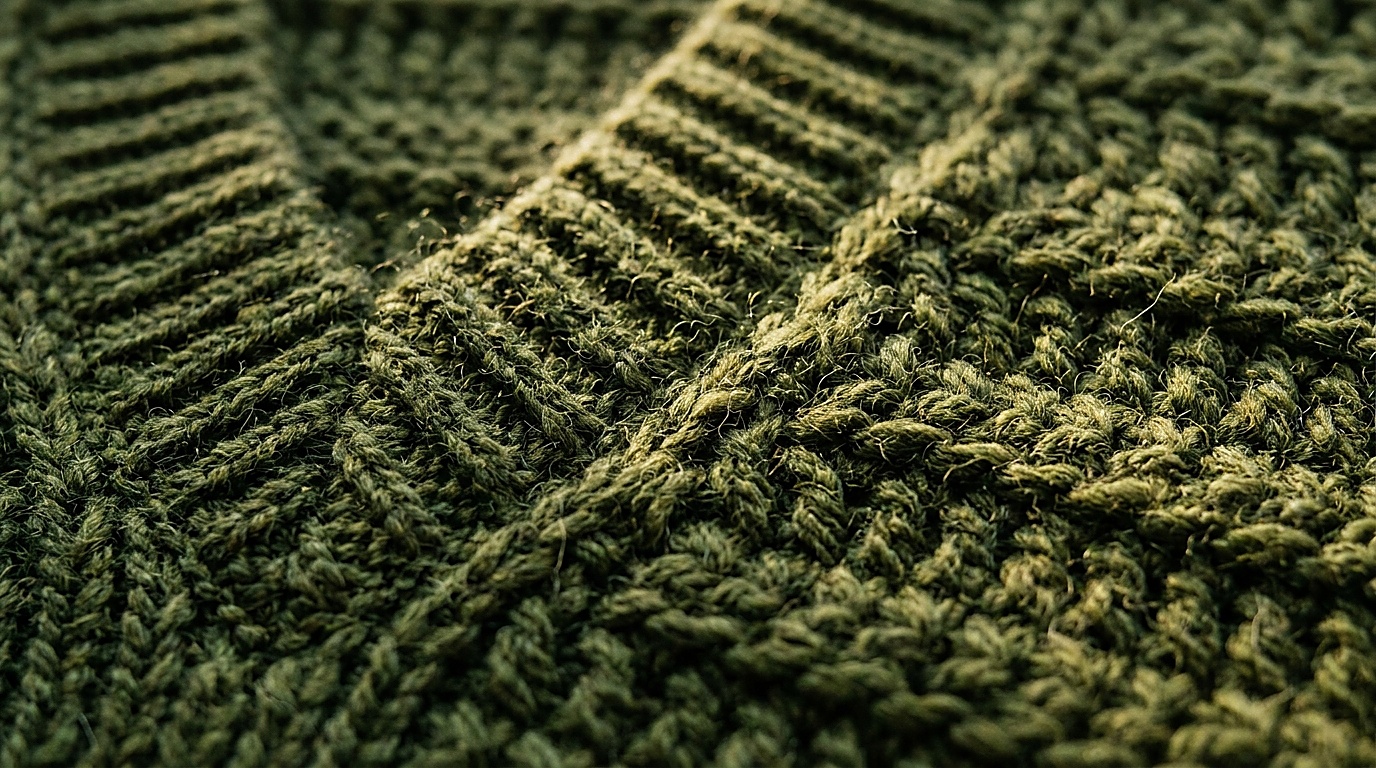
Unlike bulky winter pullovers that can take weeks of continuous work, this chunky vest works up in just two to three relaxed weekend crafting sessions (making it a top pick in our best easy crochet projects for beginners). Built with Category 5 bulky yarn and a 6.5 mm hook, the fabric strikes the exact balance between plush, insulating warmth and supple, flexible drape. The back panel is worked as a straightforward geometric rectangle, while the front panel mirrors it perfectly until dividing at the chest for an easy V-neck decrease that lays completely flat without puckering.
Sweater Vest Sizing Matrix & Positive Ease Guide
Sweater vests are designed to be worn over shirts, tees, or dresses, meaning they require 4 to 6 inches (10 to 15 cm) of positive ease beyond your natural bust measurement for a modern relaxed silhouette. Choose your size based on your actual bust circumference:
| Size Size | Actual Bust Fit | Finished Vest Width | Finished Vest Length | Approx. Yardage |
|---|---|---|---|---|
| XS / Small | 30″ – 34″ (76–86 cm) | 38″ (96 cm) | 20.0″ (51 cm) | 420 yds (384 m) |
| Medium / Large | 36″ – 40″ (91–101 cm) | 44″ (112 cm) | 21.5″ (55 cm) | 510 yds (466 m) |
| XL / 2X | 42″ – 46″ (106–117 cm) | 50″ (127 cm) | 23.0″ (58 cm) | 620 yds (567 m) |
| 3X / 4X | 48″ – 54″ (122–137 cm) | 56″ (142 cm) | 24.5″ (62 cm) | 730 yds (667 m) |
Instructions are written for size XS/S, with changes for M/L, XL/2X, and 3X/4X in parentheses: XS/S (M/L, XL/2X, 3X/4X). When only one number is given, it applies to all sizes.
Materials & Gauge Specifications

- Yarn: 420 (510, 620, 730) yards of Category 5 Bulky weight yarn (check our yarn weight and hook size guide for yarn substitution rules). An acrylic-wool blend (such as Lion Brand Hue + Me, Paintbox Yarns Simply Chunky, or Patons Classic Wool Bulky) yields rich stitch definition with lightweight breathability.
- Crochet Hook: US Size K-10.5 (6.5 mm) for the body panels, and a US Size J/10 (6.0 mm) for the ribbed neckline and armhole trims.
- Notions: 4 locking stitch markers, blunt metal tapestry needle, and scissors.
- Gauge: 10 half double crochet stitches and 8 rows = 4 inches (10 cm) using the 6.5 mm hook. Taking 10 minutes to crochet a quick 12-stitch gauge swatch is essential to guarantee your vest matches the target width.
Abbreviations & Special Techniques
This pattern uses standard US Crochet Terminology.
- ch: Chain
- hdc: Half double crochet
- hdc blo: Half double crochet in the back loop only (used for elastic ribbing)
- hdc2tog: Half double crochet decrease: Yarn over, insert hook into next stitch, draw up a loop (3 loops on hook), yarn over, insert hook into following stitch, draw up a loop (5 loops on hook), yarn over and pull through all 5 loops on hook.
- hdc3tog: Half double crochet 3 together (used for the center point of the V-neck ribbing)
- st(s): Stitch(es)
- turning chain rule: Ch 1 does NOT count as a stitch throughout this entire pattern.
Step-by-Step Back Panel Walkthrough
The back panel is constructed as a solid, flat rectangle from the bottom hem upwards.
Foundation Ribbing (Optional 2″ Knit-Look Border): With 6.0 mm hook, ch 6. Work 1 hdc in 2nd ch from hook and each across (5 sts). Turn. Work rows of ch 1, 5 hdc in BLO until ribbing strip has 41 (47, 53, 59) ridge rows. Turn to work along the long edge of the ribbing with 6.5 mm hook.
(Alternatively, if working without separate ribbing, simply ch 42 (48, 54, 60) loosely with the 6.5 mm hook).
Row 1 (Foundation): Work 1 hdc in each chain or evenly along ribbing edge across. Turn. [41 (47, 53, 59) hdc]
Row 2: Ch 1 (does not count as st), 1 hdc in the first st and each st across. Turn. [41 (47, 53, 59) hdc]
Rows 3 to 36 (39, 42, 45): Repeat Row 2 until the back panel measures 20″ (21.5″, 23″, 24.5″) from bottom edge. Fasten off, leaving a clean end.
Front Panel & The V-Neck Split Walkthrough
Work Rows 1 to 24 (26, 28, 30) identically to the Back Panel. The front panel now reaches the chest, where we divide stitches to shape the V-neck opening.

Marking the Center Divide: Count 20 (23, 26, 29) stitches from each outer edge. Place a locking stitch marker in the single center stitch: stitch #21 (#24, #27, #30). This center stitch will remain unworked.
Left Neckline Slant (When Looking at the Garment):
Row 1 (Neck Split): Ch 1, work 1 hdc in each st until 2 sts remain before the marked center st. Hdc2tog over the next 2 sts. Turn. [19 (22, 25, 28) sts remaining]
Row 2 (Straight Edge): Ch 1, 1 hdc in each st across to armhole edge. Turn. [19 (22, 25, 28) sts]
Row 3 (Decrease Row): Ch 1, 1 hdc in each st until 2 sts remain at neckline edge. Hdc2tog over last 2 sts. Turn. [18 (21, 24, 27) sts]
Rows 4 to 12 (13, 14, 15): Alternate straight rows and decrease rows until your shoulder strap contains 14 (16, 18, 20) stitches and your front panel matches the total row count of the Back Panel. Fasten off leaving a 20-inch tail for seaming.
Right Neckline Slant: Rejoin yarn with a slip stitch at the first unworked stitch on the opposite side of the center marker. Work the mirror sequence, placing your hdc2tog decrease on the neck edge on odd rows until matching the left shoulder count. Fasten off leaving a 20-inch tail.
Assembly, Side Seams & Tailored Ribbed Trims
1. Shoulder Seams: Lay the Back Panel flat with right side facing up. Lay the Front Panel on top with wrong side facing you (right sides together). Using the long tails and a tapestry needle, mattress stitch the shoulder seams together cleanly.
2. Side Seams & Armhole Openings: From the bottom hem upward, seam the side edges together using mattress stitch, leaving an 8.5″ (9.0″, 9.5″, 10.0″) opening at the top for comfortable armholes. Weave in all internal tails.

3. The Mitered V-Neck Ribbing: With your 6.0 mm hook, join yarn at the back neck seam. Work single crochet or half double crochet evenly around the entire neckline opening. When you reach the bottom point of the “V”, work an hdc3tog across the three central stitches. This intentional decrease draws the ribbing inward so the collar lies perfectly flat against your chest without curling or standing upright.
4. Armhole Ribbed Borders: Join yarn at the bottom armpit seam. Work 1 round of single crochet around the armhole opening, followed by 2 rounds of HDC in the back loop only for a polished, ready-to-wear finish.
Blocking & Garment Longevity
- Steam Blocking for Relaxed Drape: Chunky acrylic and wool fibers blossom under steam. Pin your finished vest to interlocking foam blocking tiles and hover a garment steamer 1 to 2 inches away from the stitches. Never press a hot dry iron directly onto acrylic stitches, as heat will melt the synthetic fibers.
- Washing Instructions: Submerge gently in lukewarm water with no-rinse wool wash. Press water out between folded clean towels without wringing. Lay completely flat to dry to maintain accurate garment length.
Save This Free Pattern to Pinterest
Pin your favorite reference cards below to your Crochet Clothing or Free Crochet Patterns board on Pinterest so you always have this sweater vest sizing matrix and V-neck decrease guide ready for your next wearable wardrobe project!


Frequently Asked Questions
Can I make this vest longer for a tunic look or cropped for high-waisted trousers?
Yes! Because the body panels are worked from the bottom hem up in continuous rows, adjusting the length is effortless. For a modern cropped vest, stop working rows when the panel reaches 16 to 17 inches before splitting for the V-neck. For an oversized tunic, add 6 to 8 additional rows before beginning the chest split.
How do I prevent the V-neck ribbing from gaping open?
Neckline gaping happens when too many stitches are picked up around the V-neck opening or when the center point is not decreased. Work an hdc3tog decrease directly into the center point of the V on every ribbing round, and drop down a half hook size (to 6.0 mm) for the collar trim.
Can I use worsted weight Category 4 yarn instead of bulky yarn?
You can, but you will need to hold two strands of worsted weight yarn together simultaneously to achieve the same chunky gauge, or calculate additional stitches using the 10 hdc per 4 inches gauge formula.
Is this sweater vest suitable for total garment beginners?
Absolutely. With zero circular sleeves to set in and no tricky armhole curve decreases, this pattern is the gentlest possible introduction to adult garment making.
Have you finished your cozy chunky sweater vest? Share your progress on Ravelry or save this tutorial to your Pinterest crochet boards!