

A well-crafted ribbed beanie is the cornerstone of any autumn and winter wardrobe (pair it with our easy twisted headband pattern for a coordinated cold-weather set). While hand-knitted caps often take days to complete, modern crochet techniques allow you to replicate the sleek, stretchy vertical texture of 1×1 knit ribbing in under two hours. In this step-by-step tutorial, we guide you through our modern unisex crochet ribbed beanie pattern. Featuring cozy worsted yarn, an adjustable fold-over brim, and smooth tapered crown shaping, this quick make looks effortlessly refined on makers of every age.
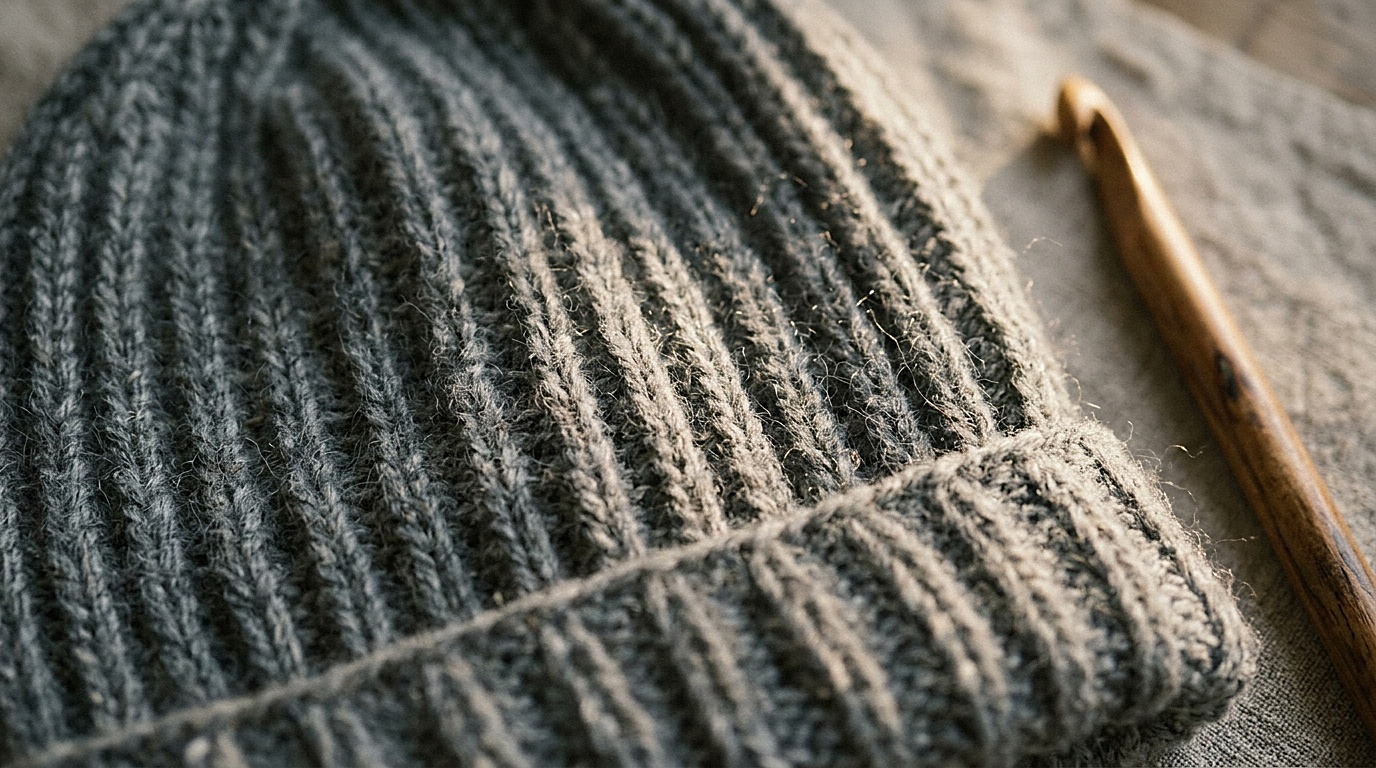
Most basic crochet hats are worked top-down in concentric rounds of double crochet, which often results in a stiff, cone-shaped silhouette with bulky seams (ranking among our best easy crochet projects for beginners, our flat-worked ribbed design achieves a tailored, store-bought fit). Ranked in our best easy crochet projects for beginners, our flat-worked ribbed design achieves a tailored, store-bought fit. Our pattern works flat in side-to-side rows. By working half-double crochets exclusively through the back loop only (BLO) and incorporating integrated short-row slip stitches at the crown, we produce authentic mechanical elasticity that hugs your head contours comfortably without pinching or slipping off.
Sizing Matrix & The Rule of Negative Ease
In hat making, negative ease is the intentional difference between your actual head circumference and the unstretched circumference of the finished hat. Because back-loop ribbing possesses substantial mechanical stretch, a beanie worked to your exact head measurement will feel loose and slide down over your eyes. For a snug, wind-resistant fit that stays securely in place, plan for 2 to 3 inches of negative ease:
| Size Category | Actual Head Circumference | Unstretched Hat Circumference | Starting Chain (Height with Brim) | Row Count |
|---|---|---|---|---|
| Toddler / Child | 18″ – 19″ (46 – 48 cm) | 15.5″ (39 cm) | Chain 38 (approx. 9.5″) | 48 rows |
| Teen / Adult Small | 20″ – 21″ (51 – 53 cm) | 17.5″ (44 cm) | Chain 44 (approx. 11″) | 54 rows |
| Adult Medium (Featured) | 21″ – 22.5″ (53 – 57 cm) | 19″ (48 cm) | Chain 48 (approx. 12″) | 62 rows |
| Adult Large / Slouchy | 23″ – 24″ (58 – 61 cm) | 20.5″ (52 cm) | Chain 54 (approx. 13.5″) | 68 rows |
Crown Tapering Mechanics: Eliminating Top Bulk
The standard frustration with crocheted rectangular beanies is the gather at the top. When you cinch a simple rectangle closed, dozens of thick stitches bunch together, creating a bulbous, uncomfortable lump at the crown. Our pattern solves this problem by working the top 8 stitches of every single row as slip stitches, while the rest of the row uses half-double crochets:
- Natural Height Reduction: Because slip stitches are less than half the height of half-double crochets, the crown edge naturally tapers inward as you work across rows.
- Flat Cinched Dome: When you finish your row count, the crown opening is already reduced to a compact circle with 70% less fabric, allowing it to cinch down completely flat against the skull.
- Consistent Elasticity: Working the slip stitches through the back loop only ensures that the crown stretches just as smoothly as the main body of the hat.

Materials & Technical Gauge Calibration
- Yarn: 1 skein (approx. 180 to 220 yards) of Category #4 Worsted Weight yarn. Pure merino wool or soft acrylic blends with wool content provide the best elastic memory.
- Hook: 5.0mm (US H-8) ergonomic hook.
- Notions: Tapestry needle, scissors, flexible tape measure.
- Gauge: 16 stitches (hdc blo) and 14 rows = 4″ (10 cm) unstretched.
Step-by-Step Executable Pattern (Adult Medium Featured)
Abbreviations (US Terms): ch = chain; sl st = slip stitch; hdc = half double crochet; blo = back loop only; st(s) = stitch(es).
Foundation Chain: Loosely chain 48 with your 5.0mm hook. Do not pull chains tight; working into tight chains will cause the brim edge to flare.
Foundation Row (RS): Work 1 hdc into the 2nd chain from your hook, and in each of the next 38 chains (39 hdc total). In the final 8 chains toward the crown, work 1 slip stitch in each chain. Turn. [47 active stitches: 39 hdc, 8 sl st]
Row 1 (Return Row – Crown to Brim): Ch 1 (does not count as a stitch here and throughout). Working strictly into the back loop only (BLO) of each stitch: work 1 sl st in each of the first 8 stitches. Then work 1 hdc in each of the next 39 stitches down to the brim edge. Turn. [47 active stitches]

Row 2 (Brim to Crown): Ch 1. Working strictly in BLO: work 1 hdc in each of the first 39 stitches. Work 1 sl st in each of the final 8 stitches at the crown. Turn. [47 active stitches]
Rows 3 through 62: Repeat Rows 1 and 2 until your ribbed piece has 62 total rows (measuring approximately 19 inches unstretched around the brim). Leave a long 20-inch tail for seaming and crown closing. Fasten off.
Assembly: Invisible Mattress Seam & Flat Crown Closure
Fold the ribbed rectangle in half with right sides facing outward so that the foundation edge and the final row line up side-by-side:
- The Invisible Mattress Seam: Thread your 20-inch yarn tail onto a blunt tapestry needle. Working from the brim edge up toward the crown, weave the needle under the outer front loop of the edge row on one side, then under the outer loop of the corresponding row on the other side. Pull the yarn snug every 4 stitches. The join disappears invisibly into the ribbed texture.
- Cinched Flat Crown: When you reach the top crown opening, weave your needle in and out through the tip of every second row around the circumference. Pull the yarn firmly like a drawstring. Because of the 8 tapered slip stitches, the top closes into a tight, flat button. Knot securely on the inside and weave the remaining tail through the ribbed ridges.

Wet Blocking & Preserving Ribbed Elasticity
To relax the stitches and set the shape, immerse the finished beanie in cool water with a splash of wool wash for 15 minutes. Gently press out excess water between clean, dry towels without wringing. Shape the crown over an inverted ceramic bowl or inflated balloon to dry, which sets the natural curved dome without stretching the brim ribbing. Store folded flat away from direct sunlight.
Save This Ribbed Beanie Pattern on Pinterest
Pin this modern beanie pattern to your Pinterest crochet wardrobe board so you can whip up thoughtful, perfectly fitting handmade hats whenever chilly weather arrives!

