

When cold hardwood floors greet your morning steps, nothing rivals the cloud-like warmth of handmade chunky crochet slippers. Unlike mass-manufactured synthetic house shoes that lose their plushness after a few wears, slippers crafted from dense super bulky yarn mold organically to the contours of your feet with every step. This free chunky crochet slippers pattern is engineered for instant maker gratification—delivering thick thermal cushioning, structured toe-box stability, and modern boutique styling in under two hours per pair.
Many traditional footwear patterns frustrate crafters with flimsy single crochet soles, confusing stitch counts worked around complex ovals, or heel seams that uncomfortably bunch under your footbed. In our studio, we solved those common fit dilemmas by designing these slippers around an intuitive two-phase architecture: a seamless toe cup worked rapidly in joined continuous rounds, transitioning directly into clean flat rows for the footbed and an inverted whipstitched heel. Whether you are pairing them with our Crochet Ribbed Winter Mittens or making cozy holiday gifts, this project is the ultimate quick-stitch weekend triumph.
Why You’ll Love Crocheting These Chunky Slippers
- Lightning Fast Turnaround: Stitched with super bulky weight #6 yarn and a large 8.0mm (Size L/11) hook, you can finish an entire pair in a single relaxing evening (approx. 1.5 to 2 hours total).
- Zero Complex Sole Ovals: By beginning directly at the toe with a simple magic loop or chain-2 start, you build ergonomic volume from the front backward without awkward increase formulas.
- Customizable Comfort Fit: The pattern includes graded stitch numbers for three adult shoe sizes (5/6, 7/8, and 9/10), with simple row adjustment hacks to fit wider or narrower feet effortlessly.
- Squishy Thermal Loft: Half double crochet stitches worked in bulky yarn generate high-density insulating pockets that keep your toes warm even on frosty ceramic tile.
- Playful Accent Options: Top them with contrast fluffy yarn pompoms, wooden buttons, or leather heel tags for a polished artisan boutique finish.
Sizing, Foot Length & Stitch Architecture
Crocheted footwear requires a touch of negative ease across the width so the fabric hugs your foot comfortably without slipping off your heel while walking. Consult this verified sizing reference chart before starting:
Studio Sizing Tip: When trying on your slipper midway through the footbed rows, the piece should reach approximately 1/2 inch short of your heel back before joining. Bulky acrylic and wool yarns naturally relax and expand slightly with body heat and wear.
Key Materials & Studio Swaps

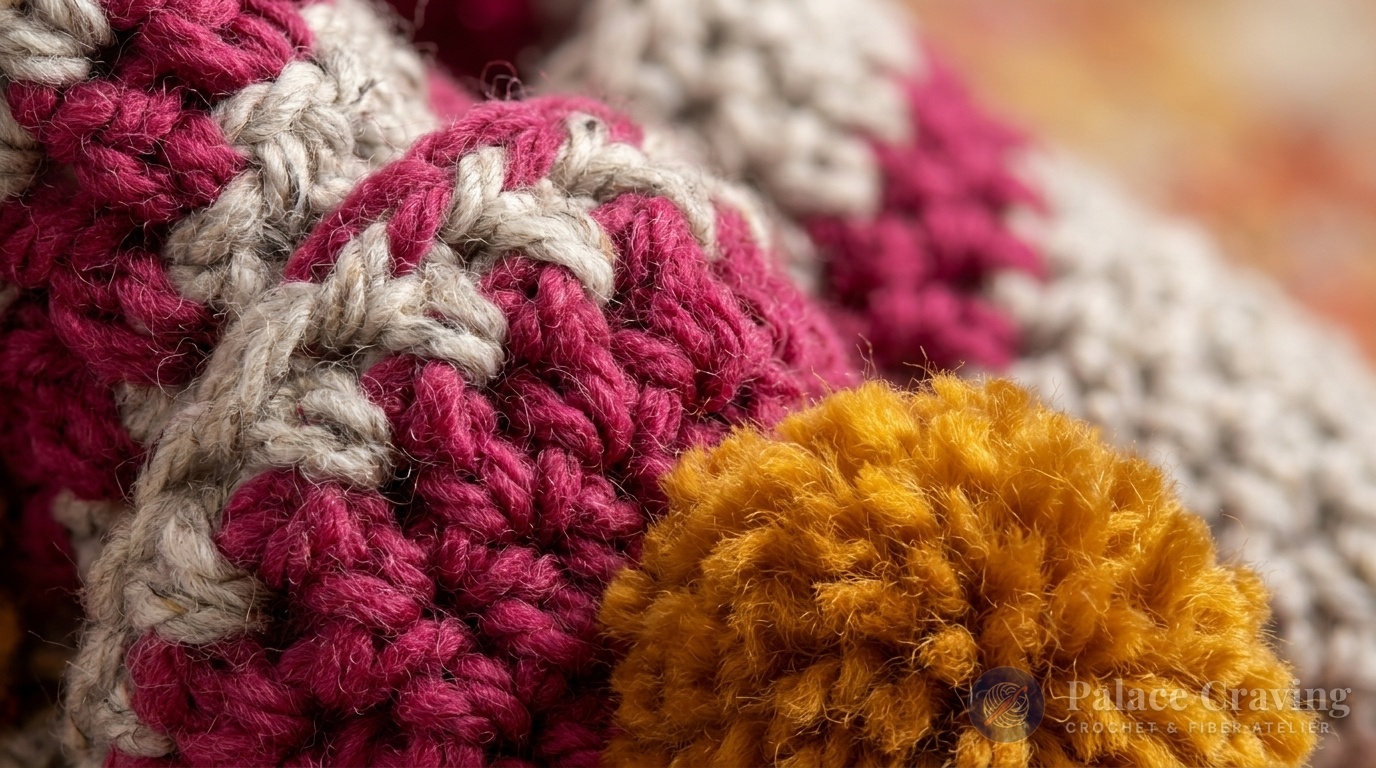
- Super Bulky Weight (#6) Yarn: 1 ball (approx. 108 yds / 100g) in Main Color (shown in rich Berry Magenta or Heather Oatmeal). For extra guidance on yarn classification and ply comparisons, consult our comprehensive Crochet Yarn Weight & Hook Size Guide.
- Contrast Pompom Yarn (Optional): Approx. 45 yds of contrasting super bulky yarn (shown in warm Mustard Brass) or ready-made faux fur pompoms.
- Size U.S. L/11 (8.0 mm) Crochet Hook: A smooth ergonomic metal hook with a tapered throat glides effortlessly through thick plies without snagging.
- Large-Eye Steel Tapestry Needle: Essential for closing the back heel seam cleanly and weaving in thick yarn ends securely.
- Notions: Sharp craft scissors, flexible measuring tape, and locking stitch markers.
Tested Notions for Slipper Success
We rigorously test every tool in our design atelier. These durable essentials will ensure your slippers maintain perfect tension and long-lasting structure:
Susan Bates Silvalume 8.0mm (L/11) Hook
Anodized aluminum with in-line head ensures uniform loop sizing through super bulky fibers.
Clover Large Pom-Pom Maker (2.5 Inch)
Engineered template arms produce uniform, ultra-dense pompoms without loose strands.
Disclosure: Palace Craving atelier participates in select affiliate programs. When purchasing through our links, we may earn an editorial commission at zero additional cost to you.
Step-by-Step Stitch Walkthrough
Pattern Notation & Stitch Key:
• Ch: Chain
• Hdc: Half Double Crochet
• Sc: Single Crochet
• Sl st: Slip Stitch
• Hdc2tog: Half Double Crochet 2 Together (decrease)
• Rnd: Round
• Note: Ch-2 at the beginning of rounds and rows does not count as a stitch.
Phase 1: Sculpting the Seamless Toe Cup
Foundational Ring: Make a slip knot, Ch 2.
Round 1 (RS): Work 10 hdc into the second ch from hook. Join with a sl st to the first hdc. (10 hdc total).
Round 2: Ch 2. 1 hdc in first hdc. *2 hdc in next hdc, 1 hdc in next hdc. Repeat from * to the last hdc, 2 hdc in last hdc. Join with sl st to first hdc. (15 hdc total).
Round 3 (Size Gradation): Ch 2. 1 hdc in each of first 2 hdc.
• For Size 5/6: *2 hdc in next hdc, 1 hdc in each of next 6 hdc. Repeat from * once more, 1 hdc in last st. (17 hdc).
• For Sizes 7/8 & 9/10: *2 hdc in next hdc, 1 hdc in each of next 3 hdc. Repeat from * to last 2 hdc, 2 hdc in next hdc, 1 hdc in last hdc. (19 hdc).
Rounds 4 & 5: Ch 2. 1 hdc in each hdc around. Join with sl st to first hdc. (17 [19-19] hdc). Continue working even in rounds until toe pocket measures exactly 3.5 (4.0 – 4.5) inches from the tip.

Phase 2: Transitioning to the Flat Footbed
Now you leave the front 5 stitches unworked to form the ankle entry opening, and work back-and-forth rows around the sole and sides:
Row 1: Ch 2. 1 hdc in each of next 12 (14-14) hdc. Turn. Leave remaining 5 sts unworked.
Row 2: Ch 2. 1 hdc in each hdc across to end of row. (12 [14-14] hdc). Turn.
Repeat Row 2: Continue working back and forth in rows until your work measures 9.0 (9.5 – 10.5) inches from the very front of the toe, ending with a Wrong Side row.
Phase 3: Heel Seaming & Ergonomic Shaping
To prevent a stiff, protruding heel point, we integrate a gentle 2-stitch decrease on the final heel row:
Heel Shaping Row: Ch 2. 1 hdc in each st across to the center 2 stitches. Work 1 hdc2tog across the center 2 sts. 1 hdc in each remaining stitch to end of row. Turn.
Joining the Heel: Fold the slipper back in half with Right Sides facing each other. Align the two heel edges. Working through both thicknesses simultaneously, join edges with neat slip stitches across. Alternatively, cut yarn leaving an 8-inch tail and whipstitch the edges using your yarn needle. Fasten off.
Phase 4: Top Collar Edging & Optional Pompom
Collar Edging: With Right Side facing up, join your yarn with a slip stitch at the center back heel seam. Ch 1. Work 1 clean round of single crochet evenly spaced around the entire foot opening (working 1 sc into each row-end along the sides and 1 sc into each of the 5 unworked toe stitches across the front). Join with sl st to the first sc. Fasten off and weave in all ends securely.
Fluffy Pompom: Using your Clover Pom-Pom maker or cardboard discs, create a 2.5-inch dense pompom with your contrast Brass yarn. Leave long fastening tails. Pull the tails through the front opening of the slipper toe using your darning needle, knot firmly three times on the inside, and weave tails through the inner stitches.
3 Studio Secrets for Long-Lasting Slipper Perfection

1. Preventing Stretched Foot Openings: Because slippers undergo constant mechanical movement as you step, the ankle opening can loosen over time. If your foot opening feels slightly loose after wearing, work your top collar round with a hook 1.0mm smaller (Size 7.0mm) or work a round of slip stitches through the back loop only for an elastic hug around the instep.
2. Adding Non-Slip Safety Grip: Smooth hardwood, vinyl, and tile floors can be slippery in yarn footwear. Apply small dots or decorative swirl patterns of clear silicone caulk, non-slip fabric paint, or Sock-Stop latex to the bottom soles. Allow 24 hours to cure fully before walking. The silicone creates dependable traction that survives machine washing.
3. Washing & Shape Retention: Chunky acrylic and wool-blend yarns benefit from gentle hand washing in lukewarm water with mild wool detergent. Avoid hanging slippers to dry, which pulls the stitches out of shape. Stuff each toe lightly with dry washcloths to preserve the sculpted rounded profile and lay flat on a towel away from direct heaters. For comprehensive blocking tips, explore our guide on How to Block Crochet & Finish Edges.
Explore More Free Beginner Crochet Patterns
Looking for your next relaxing handmade project? Try these reader-favorite guides from our atelier:
- Crochet Ribbed Winter Mittens Pattern – The matching super bulky cold-weather companion with 3rd-loop camel stitch ribbing.
- Modern Crochet Ribbed Beanie Pattern – A quick 1.5-hour unisex hat with cozy fisherman turn-up cuffs.
- 8 Best Easy Crochet Projects for Beginners – Instant-gratification patterns curated for new fiber enthusiasts.
Save This Free Pattern to Pinterest
Pin these step-by-step guides to your favorite Pinterest boards so you have this cozy winter tutorial ready whenever chilly mornings arrive!

