

When brisk winter winds begin to whistle through bare branches, nothing marries modern cold-weather elegance with practical warmth quite like a plush, handmade ear warmer. With its sculptural origami front knot, velvety ribbed texture, and rich honey-camel warmth, this easy crochet twisted headband is one of the most rewarding accessories you will ever make. Designed as an effortless one-hour project, this free pattern requires just a single skein of super bulky yarn and foundational single crochet stitches—making it the ultimate last-minute holiday gift and cold-weather wardrobe staple.
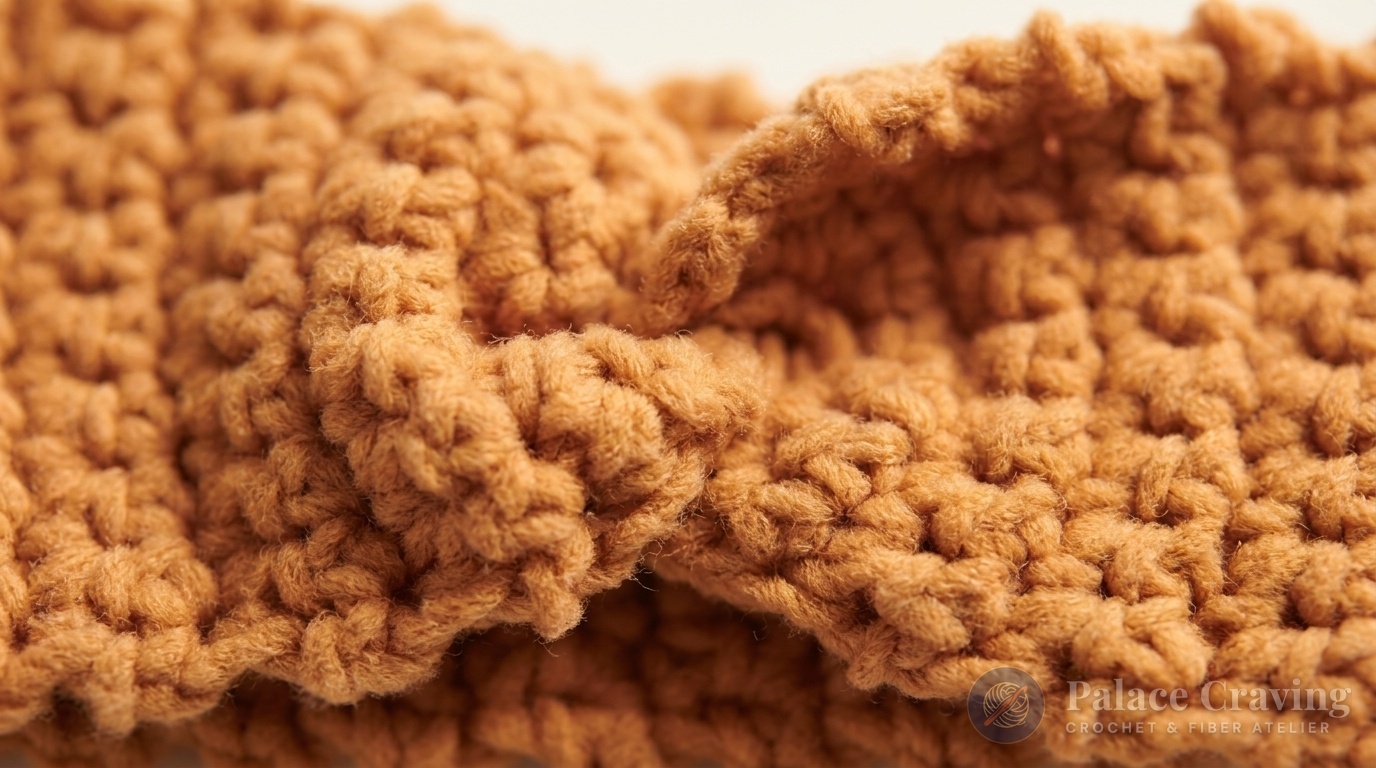
Many beginners assume that intricate twisted ear warmers require complicated cable hooks, short rows, or advanced shaping techniques. In truth, the genius of this design lies entirely in its deceptive construction: you simply crochet a flat, rectangular strip of uniform single crochet stitches, and then transform it into a sophisticated turban knot using an ingenious four-layer “interlocking C-fold” seaming method. Pair it with our cozy Crochet Ribbed Winter Mittens or our warm Chunky Crochet Slippers to assemble the ultimate handmade winter ensemble.
Why You’ll Love Crocheting This Twisted Ear Warmer
- Lightning Fast 60-Minute Make: Using super bulky yarn (#6 weight) and a substantial 9.0mm hook, this entire headband works up in under an hour from cast-on to final weave.
- Beginner-Friendly Foundation: 100% single crochet stitches worked back and forth in flat rows—zero increases, decreases, or confusing counts to memorize.
- Frizz-Free Winter Hairstyle Saver: Unlike bulky beanies that flatten high ponytails and messy buns, this open-crown headband keeps ears toasty while letting your hairstyle breathe.
- Magical Origami Twist: Learn the viral 4-layer fold technique that creates an elegant boutique-quality focal knot with just one short seam.
- Economical Single-Skein Project: Uses less than 40 yards (36.5 meters) of yarn, making it a fantastic stash-buster for leftover skeins.
Sizing & Custom Fit Architecture
To ensure comfortable, stay-put wear without pinching or slipping, headbands must be crafted with 2 to 3 inches of negative ease. Measure around your head across the ears and choose the corresponding target length:
Key Materials & Studio Swaps

- Super Bulky (#6 Weight) Fleece or Wool Blend: Approx. 40 yards (36.5 m / 60 grams) of high-loft fleece or roving yarn in warm camel, bergamot ochre, or charcoal grey. (Review our Crochet Yarn Weight & Hook Size Guide for fiber recommendations).
- Size U.S. M/13 (9.0 mm) Crochet Hook: A large aluminum or wooden hook glides effortlessly through thick roving fibers without splitting plies. For comfortable wrist posture during bulky yarn work, check our guide on Hook Grips & Yarn Tension Control.
- Large-Eye Blunt Tapestry Needle: Essential for sewing through the thick 4-layer fold during assembly.
- Locking Tape Measure & Sharp Shears: Required to verify unstretched band length precisely.
Gauge & Tension Control
Gauge Swatch: 8 single crochet (sc) and 9 rows = 4 inches (10 cm) in single crochet using a 9.0mm hook.
Note: Because this project uses super bulky yarn, small shifts in tension quickly add or subtract inches. If your 8 stitches measure wider than 4 inches, switch down to an 8.0mm (Size L) hook; if tighter, move up to a 10.0mm (Size N) hook.
Step-by-Step Crochet Walkthrough
Foundation Chain: Leaving an 8-inch starting tail, make a slip knot and chain 9.
Row 1: Insert hook into the second chain from hook, yarn over, pull up a loop (2 loops on hook), yarn over and pull through both loops (first single crochet made). Work 1 single crochet in each remaining chain across to end. Turn. (8 stitches).

Row 2: Chain 1 (does not count as a stitch). Work 1 single crochet in the very first stitch and in each stitch across to the end of the row. Turn. (8 stitches).
Rows 3 through 44 (or until target length): Repeat Row 2 until your crocheted band measures exactly 19.5 inches (49.5 cm) unstretched when laid completely flat on a table (or your preferred size from the sizing chart above).
Fasten Off: Cut yarn, leaving a generous 14-inch tail for seaming. Pull loop through to secure.
The Origami Twist Seaming Method
This is where the magic happens! Follow these exact geometric folding steps to create the signature interlocked twist knot:
Step 1 (Lay Flat): Lay your crocheted rectangular band on a flat table with the Right Side facing up.
Step 2 (Bring Edges to Center): Bring the left short edge and the right short edge inward toward the center until they meet side-by-side.
Step 3 (The Interlocking C-Fold):
• Pinch the left short edge and fold it horizontally in half into a forward-facing “C” shape.
• Pinch the right short edge and fold it horizontally in half into a backward-facing “C” shape.
• Slide the two folded ends together so their folds interlock like two puzzle pieces. You will now have 4 distinct layers aligned evenly edge-to-edge: Layer A, Layer B, Layer A, Layer B.
Step 4 (Whipstitch Seaming): Thread your 14-inch yarn tail onto your large blunt tapestry needle. Working from right to left, whipstitch firmly across the top edge. Crucial Atelier Rule: Every single stitch must pass through all 4 layers simultaneously! If you miss an inner fold layer, the twist will show a gap when flipped.
Step 5 (Secure & Flip): Work back across the 4 layers a second time with whipstitches to guarantee indestructible winter durability. Knot the yarn securely, weave the tail through the thick seam stitches, and snip excess. Now reach into the tube and flip the headband Right Side out. The seam vanishes inside, and a flawless twisted knot blooms on the front!

3 Atelier Secrets for Flawless Headbands
1. Count the Turning Chain Correctly: The turning chain (Ch 1) at the start of each row does not count as a stitch. Always insert your hook directly into the base of the turning chain for your very first sc, and remember to work into the final true stitch of the row. This prevents accidental trapezoid shaping and keeps both edges laser-straight.
2. Check for Stretch Relaxation: Super bulky acrylic and polyester fleece yarns have natural springiness that relaxes slightly after being worn for a few hours. If you are between sizes, always choose the smaller unstretched length. The headband will conform snugly to your head without sliding back.
3. Invisible Double-Pass Seam: Because the twist knot sits at the forehead or crown where tension is highest, sew through all 4 layers going forward, then reverse direction and sew back across. This reinforces the stress points so you can stretch and pull the headband over coats and hats without straining the seam.
Explore More Free Wearable Crochet Patterns
Build your handmade cold-weather wardrobe with these reader favorites from our studio:
- Crochet Ribbed Winter Mittens – Classic foldover ribbed cuffs and cozy thumb gussets.
- Easy Chunky Crochet Slippers – Plush ballet-style house slippers worked in 30 minutes.
- Crochet Snowflake Ornament Pattern – Intricate heirloom holiday lace baubles.
Save This Twisted Headband Pattern to Pinterest
Pin this easy ear warmer tutorial to your Crochet Wearables, Winter Accessories, and Quick Gifts boards so you can make one in every color this season!

